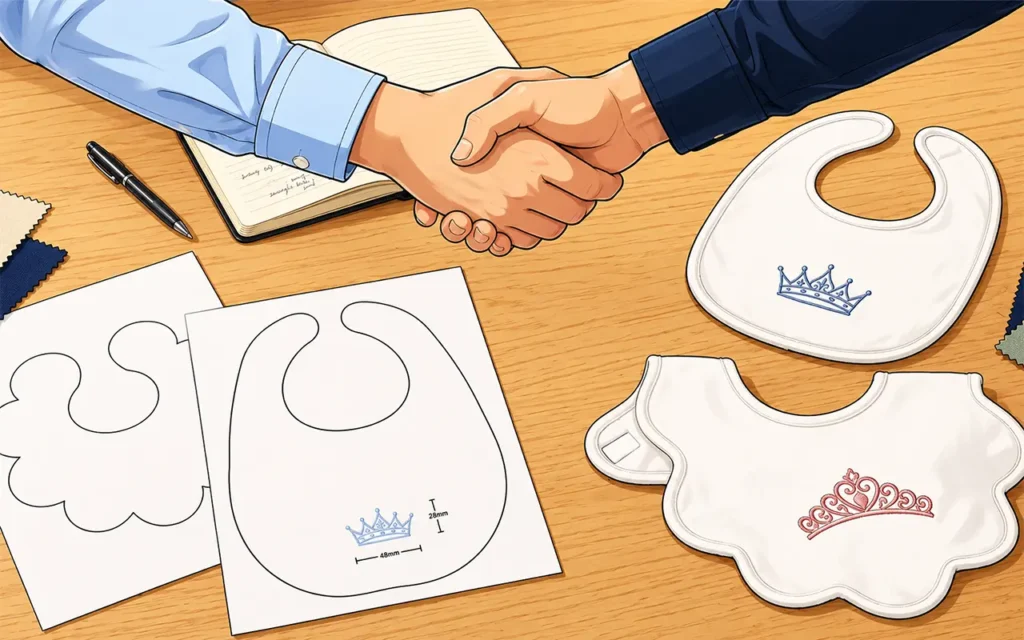
Creating a custom baby textile product takes more than a simple sketch. Buyers often start with a rough idea. Sometimes they bring a reference photo. In other cases, they share an embroidery file or a target size. However, a factory still needs to turn that idea into a practical sample.
At our baby textile factory, we guide that process step by step. We help buyers refine the product. We check the material, shape, and details. Then we prepare clear technical information for sampling. As a result, buyers gain a smoother path from concept to finished sample. This process also reduces errors, saves time, and supports bulk production later.
Understanding the Customer’s Idea
Every project starts with communication. A buyer may send a bib photo. Another buyer may share a hand drawing. Some clients only have an embroidery design and a target market. Even so, those first materials give us a useful starting point.
At this stage, we focus on the real product needs. We ask about the baby’s age range. We confirm the preferred bib shape. We also discuss embroidery style, size, and placement. In addition, we review the buyer’s target price and quality goals. That early discussion helps us avoid confusion later. More importantly, it helps us understand what the buyer truly wants to develop.
Choosing the Right Fabric
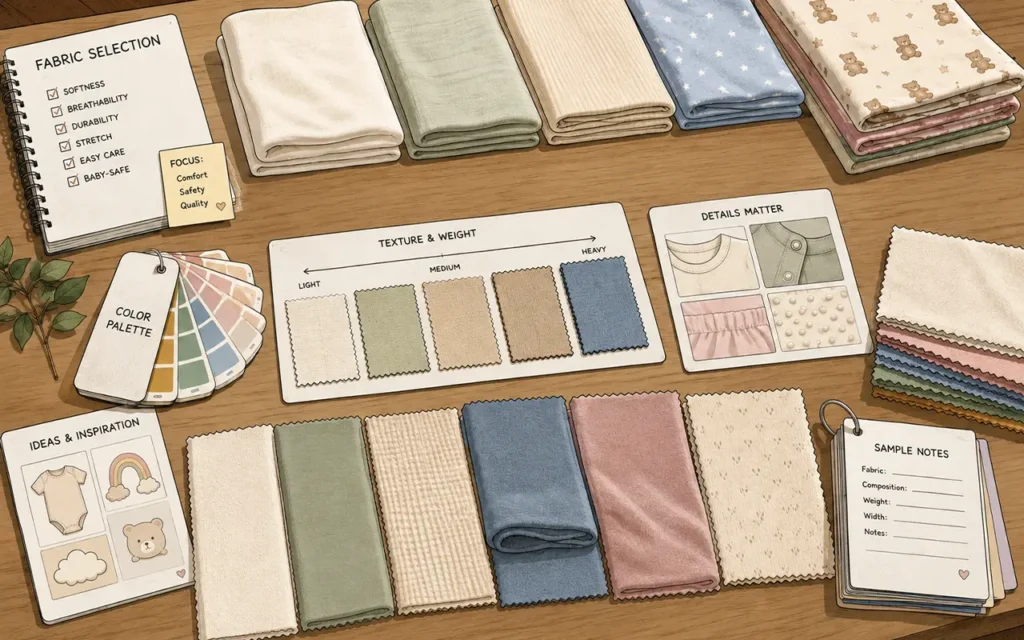
After we understand the idea, we move to material selection. Fabric affects comfort, appearance, and sewing performance. Therefore, we do not choose it based on looks alone. We look at the product’s purpose first. Then we match the fabric to that purpose.
For example, a baby bib needs a soft hand feel. It also needs enough structure. At the same time, it should work well with embroidery and shaping. So we review fabric thickness, texture, and stability. We also consider washing performance and product cost. As a result, the buyer gets a material that fits both the design and the market plan.
Reviewing Shape, Size, and Product Details
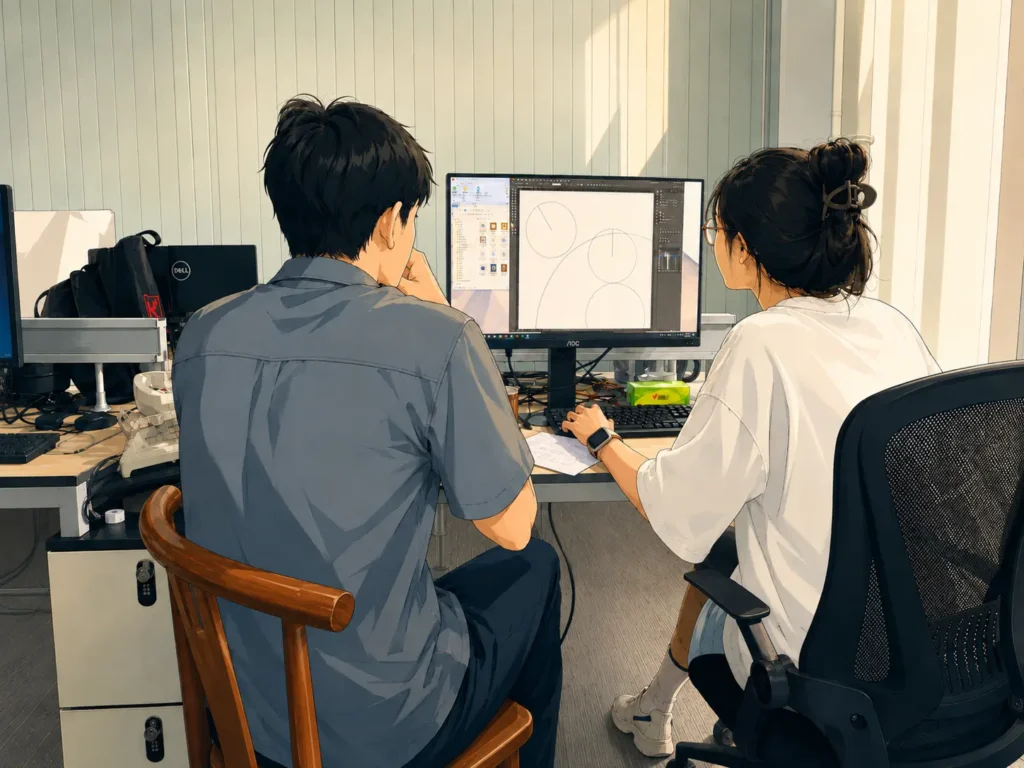
Next, our manager and designer review the product structure together. This step is very important. A good-looking reference image may still have technical issues. For instance, the neckline may be too small. In another case, the body shape may not drape well. Small details can also affect comfort and sewing efficiency.
During this review, we examine the full product carefully. We compare the overall proportions. We confirm the final bib outline. We also decide the embroidery position and visual balance. Meanwhile, we think about actual production needs. That includes symmetry, seam allowance, cutting logic, and size control. As a result, the design becomes more practical before sampling begins.
Creating the Technical Drawing
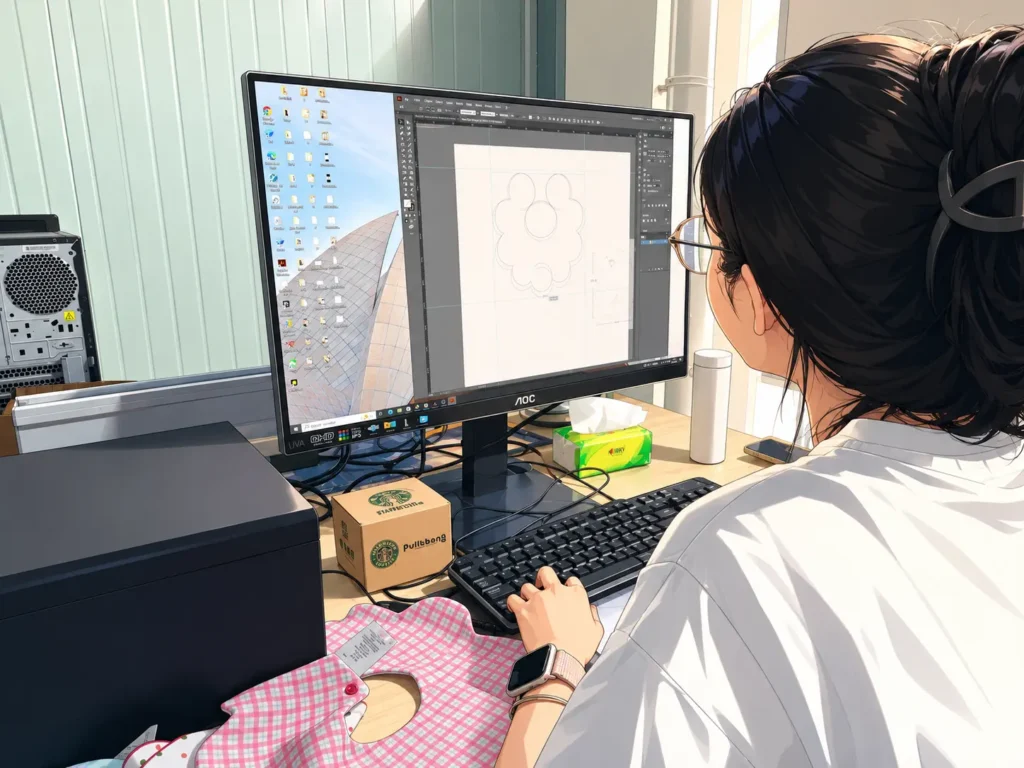
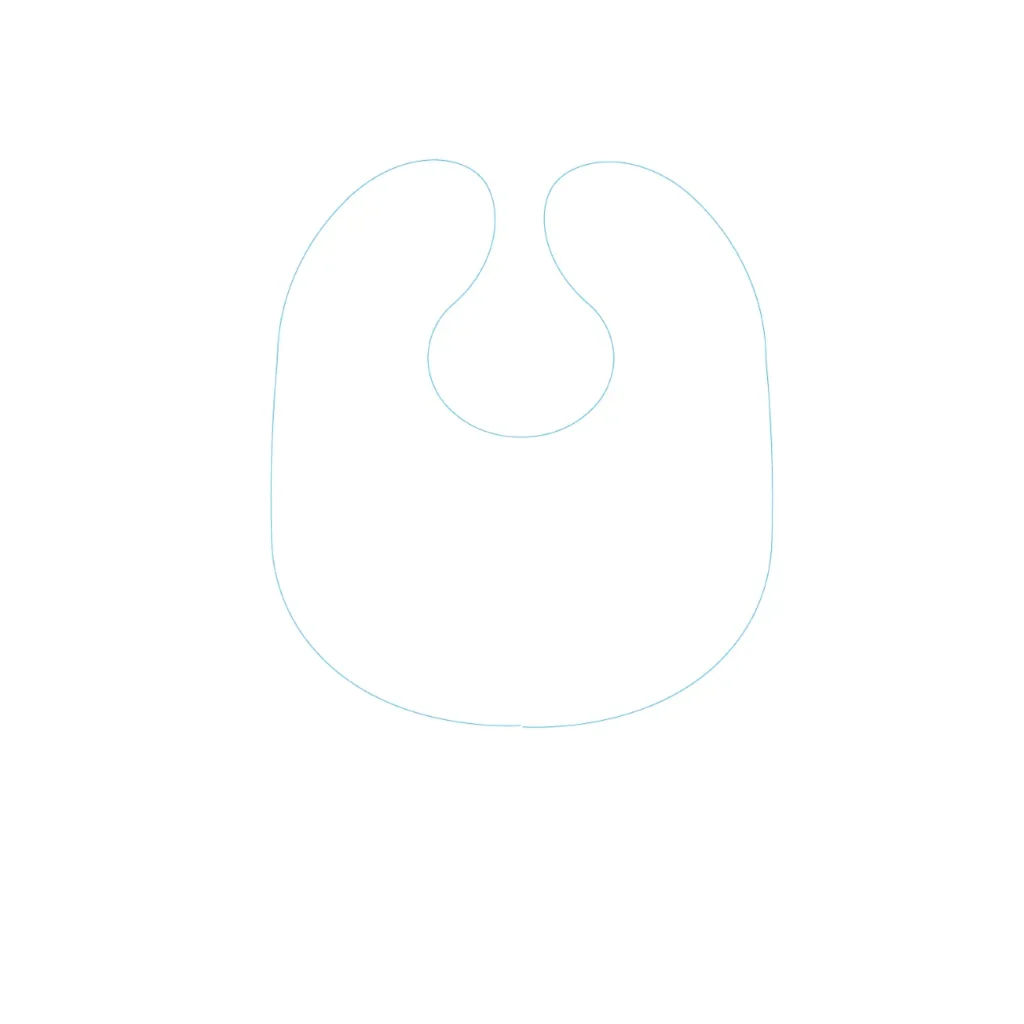
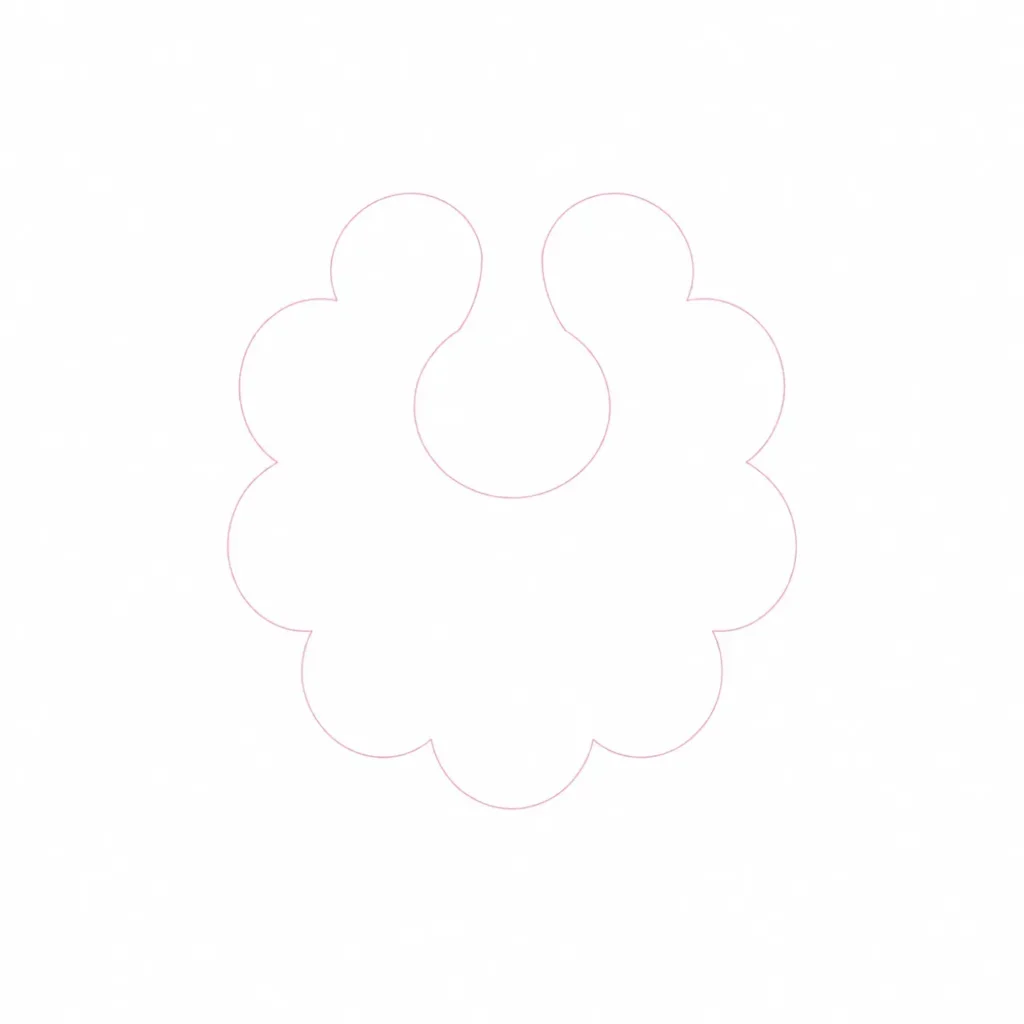
Once the main details are clear, our designer creates the technical drawing. This drawing gives the project a clear production direction. It turns the buyer’s idea into a working design file. In other words, it becomes a bridge between discussion and sampling.
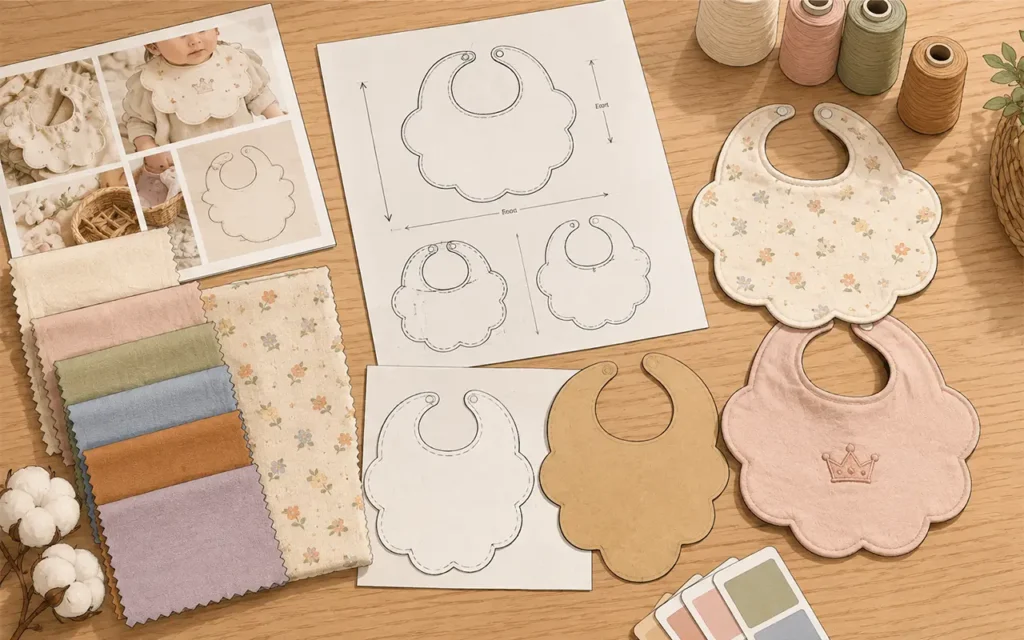
The drawing includes the final bib shape and key measurements. It may also show embroidery placement and other small details. In addition, we print the layout for internal review. That printed sheet helps our team check the design again. It also helps the workshop understand the size more quickly. Because of that, the whole process becomes more accurate and more efficient.
Confirming the Final Shape and Embroidery Design
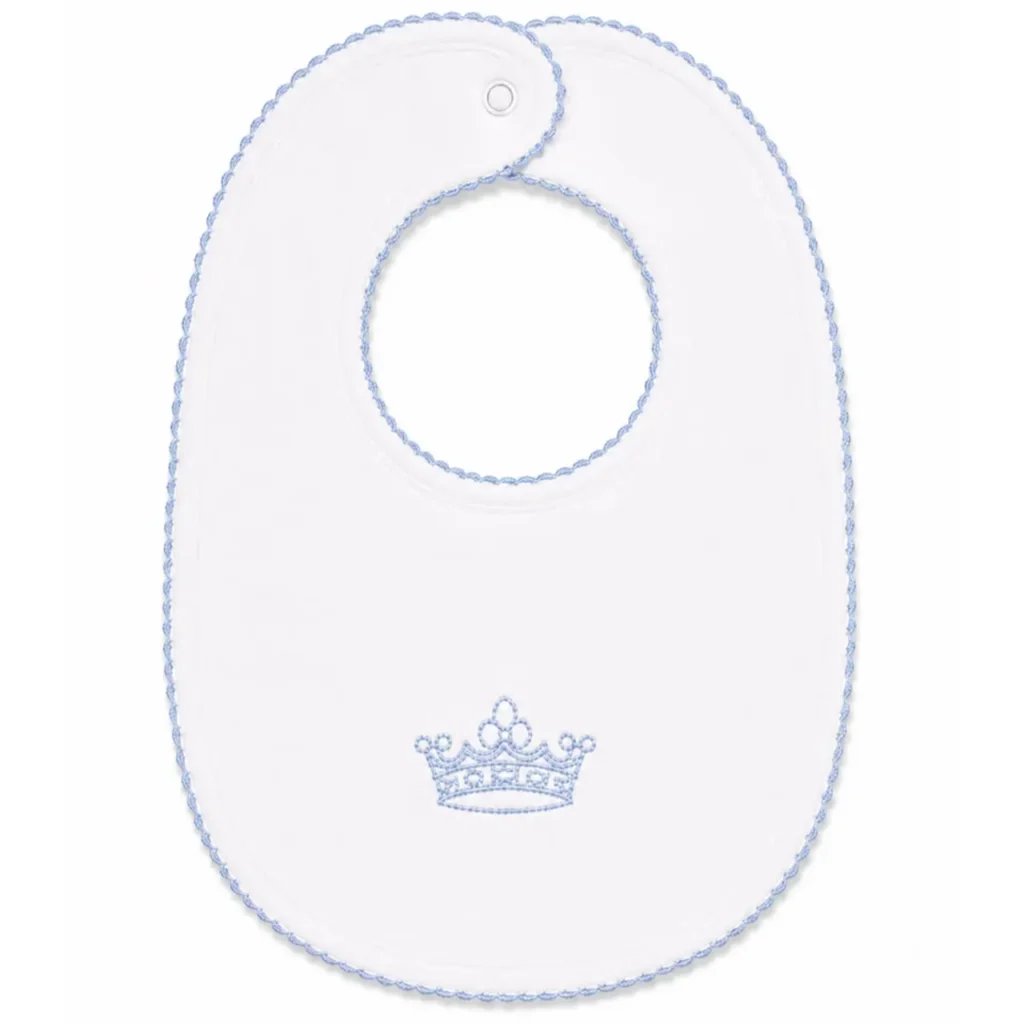
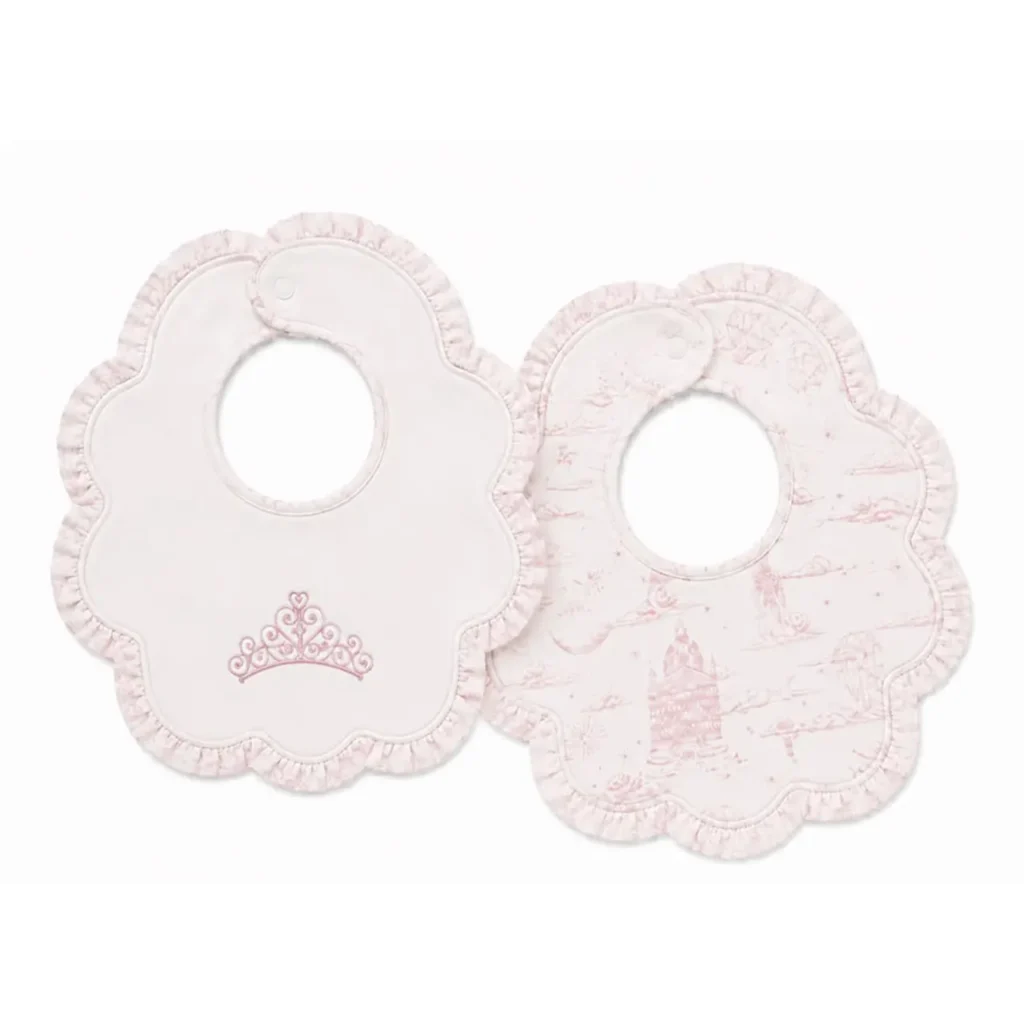
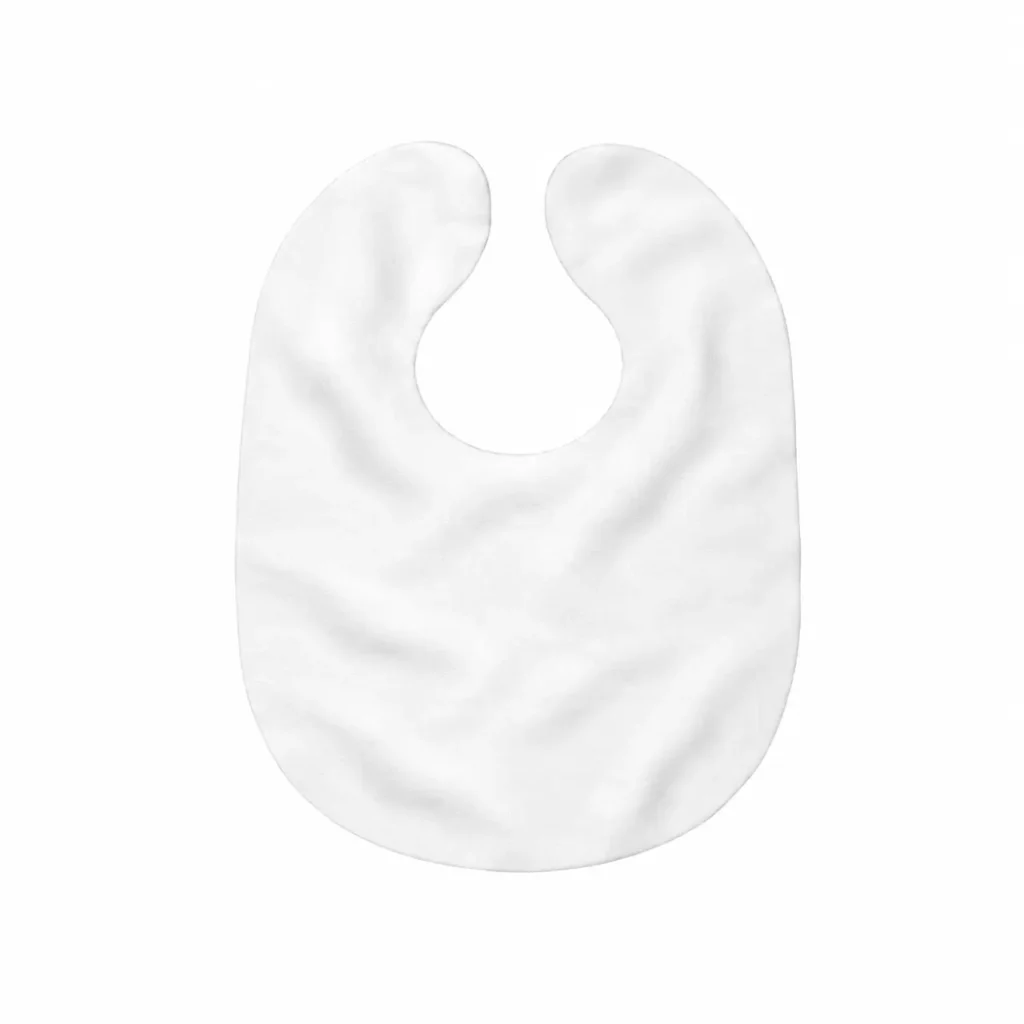
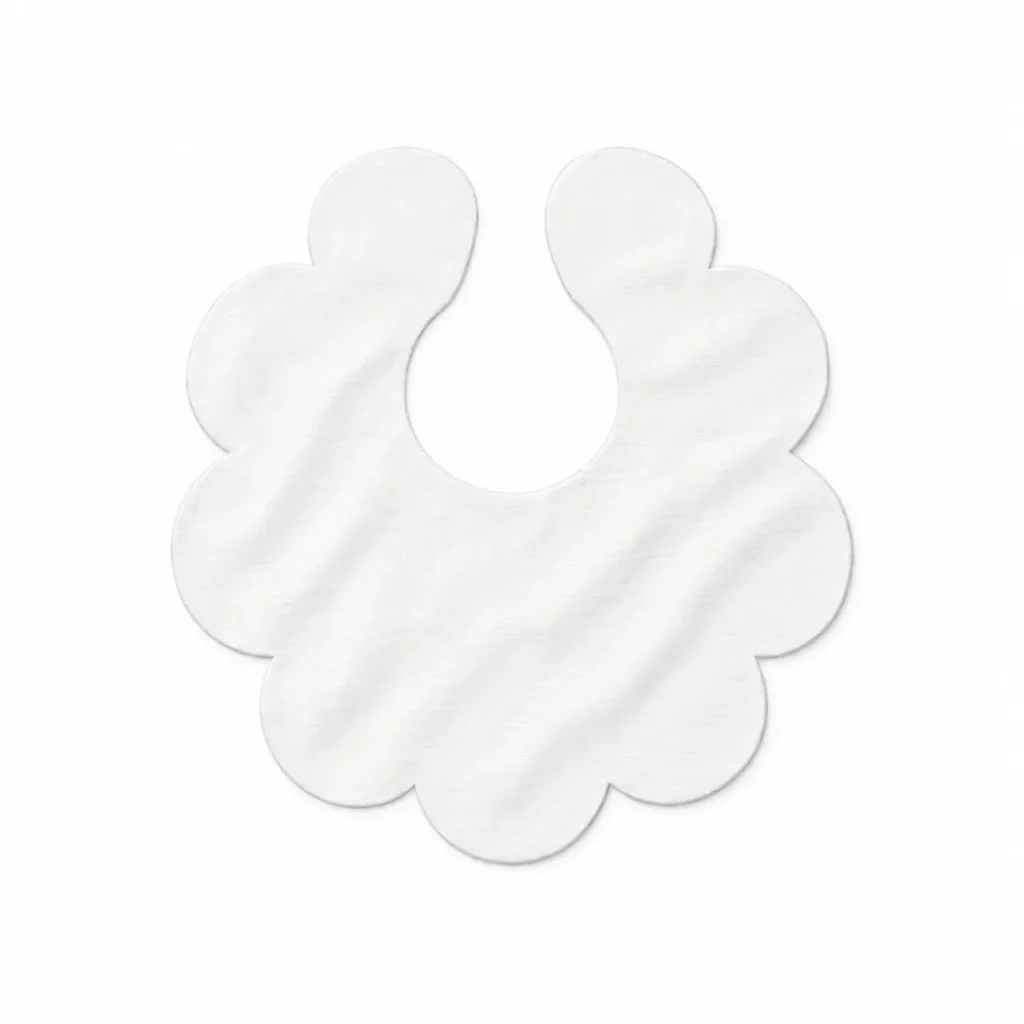
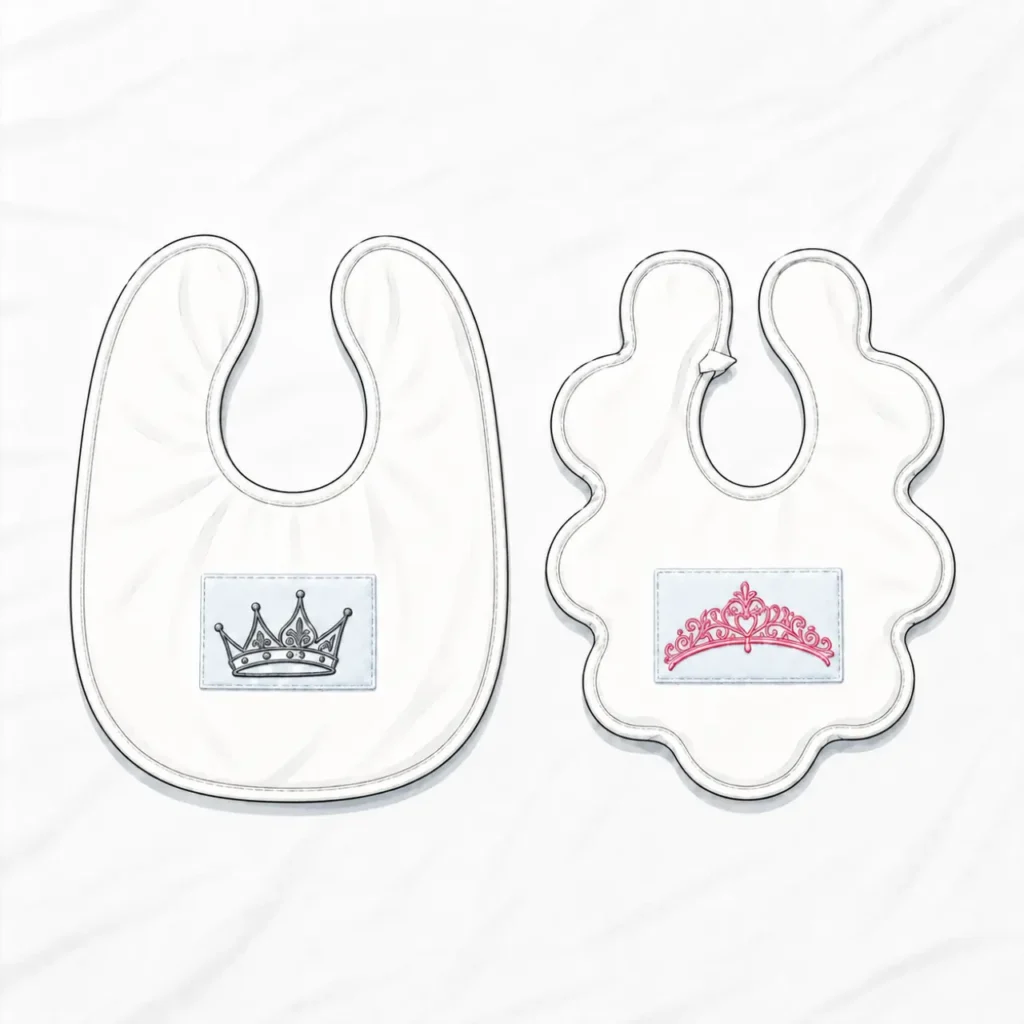
Then we confirm the key visual elements. In this project, the buyer selected two bib shapes. One shape has a rounded classic outline. The other shape has a petal-style outline. Both versions need clean proportions and a neat neckline. Therefore, we lock the final shape before we move further.
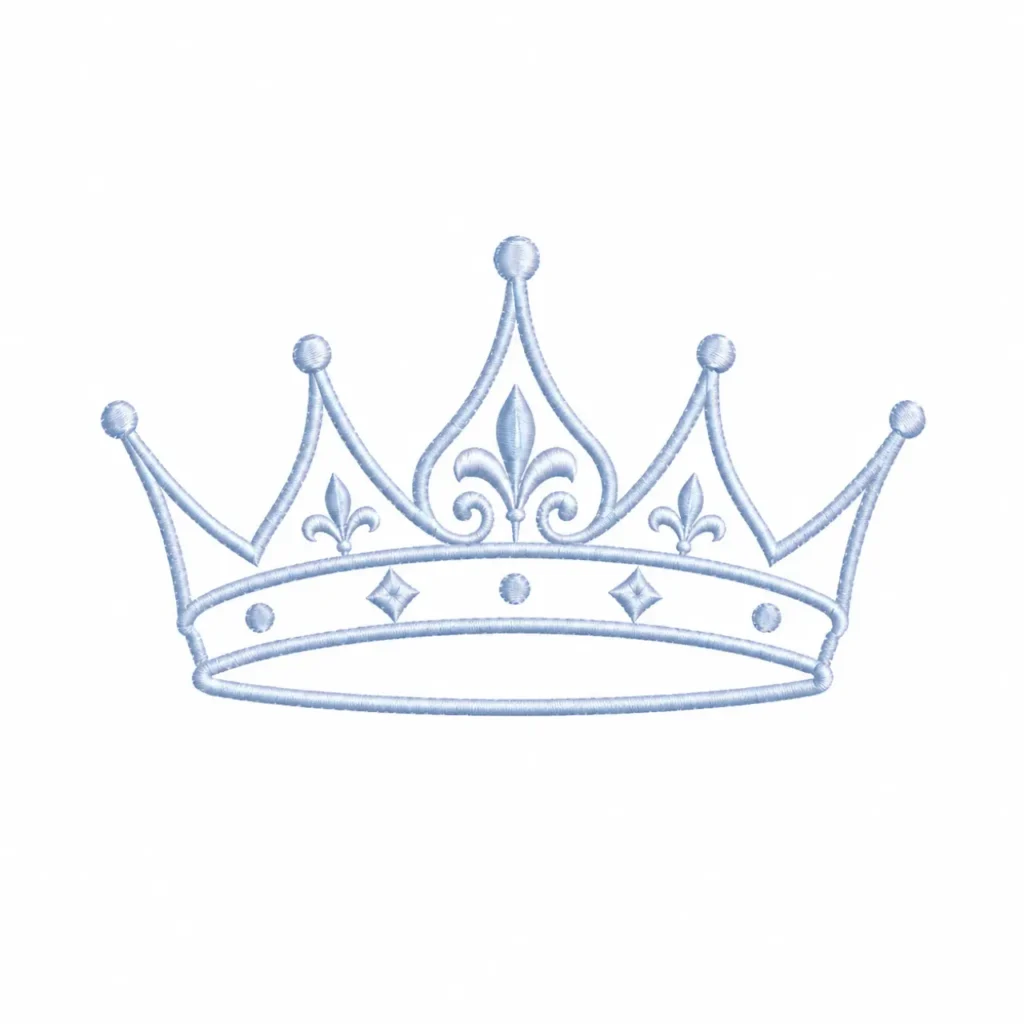
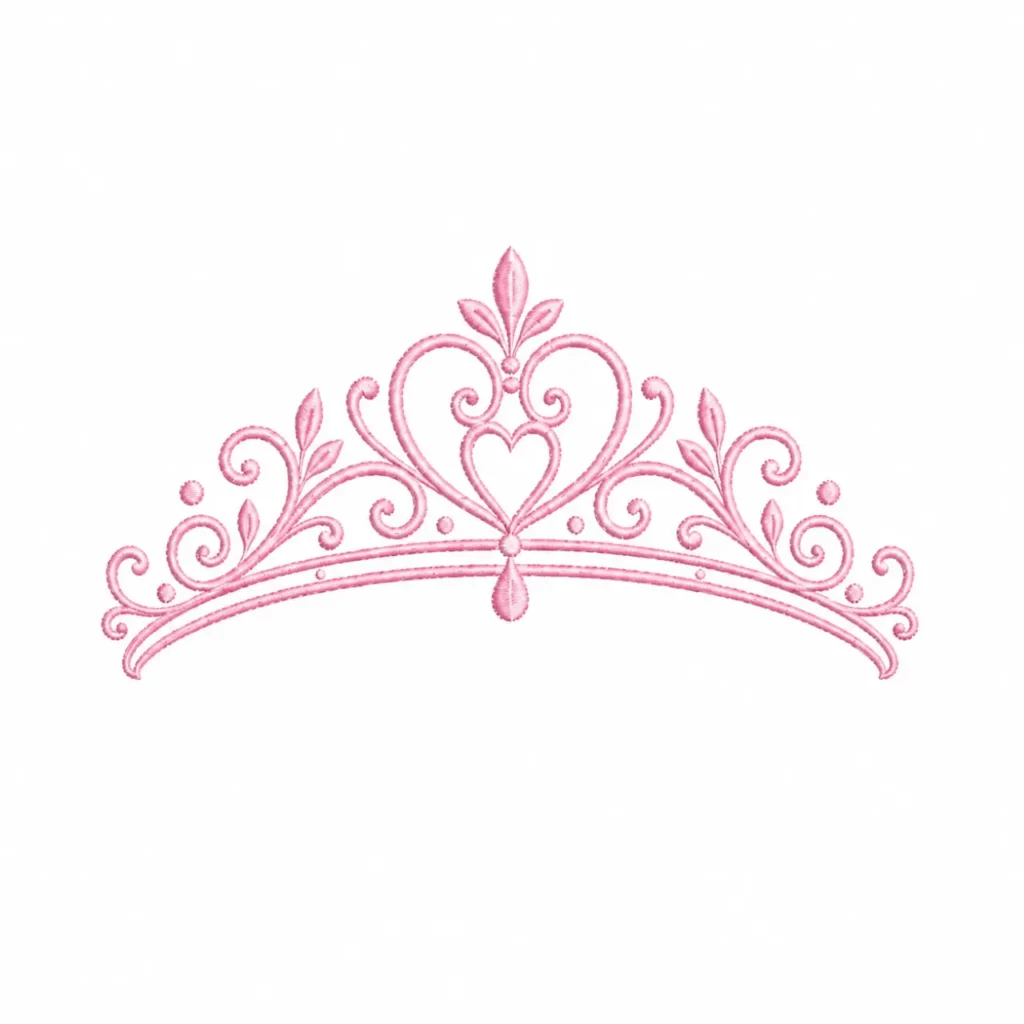
At the same time, we confirm the embroidery artwork. The buyer provided crown and tiara references. We review the embroidery style, line weight, and visual size. We also check how the artwork fits each bib shape. This step matters because the embroidery becomes a key brand detail. Once both the shape and artwork are approved, the sample development process can move forward with fewer revisions.
Making the Paper Pattern and Cutting the Fabric
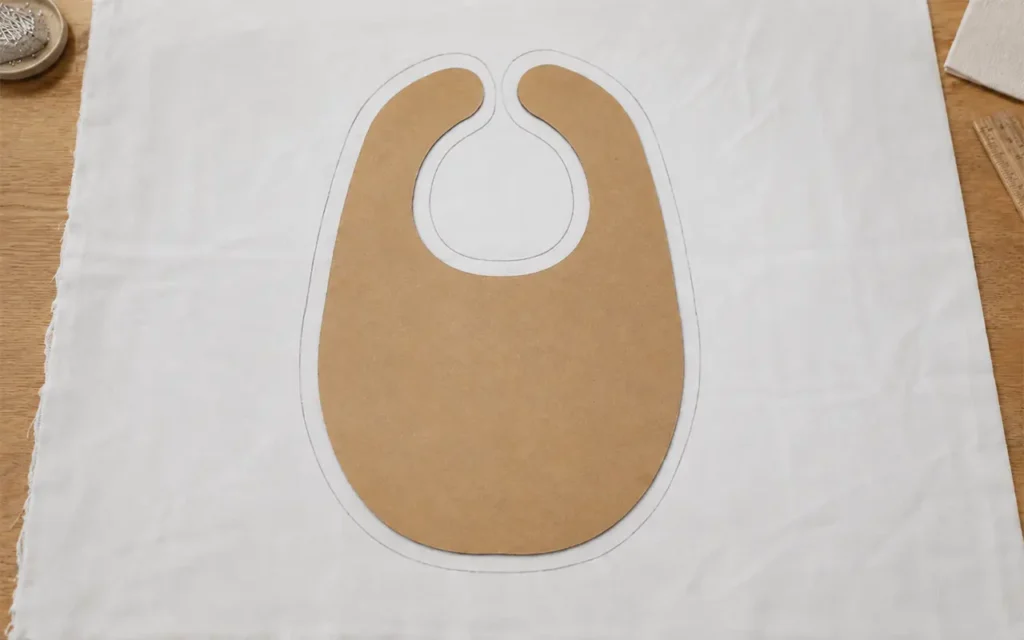
After design approval, we prepare the pattern for sampling. First, we print the final layout. Next, we create a paper pattern that matches the approved size and contour. That pattern gives the workshop a reliable cutting guide. It also helps the team keep each sample consistent.
Then we place the pattern on the selected fabric. We mark the outline and prepare the cutting line. In some cases, we cut the fabric pieces right away. In other cases, we check the pattern once more before cutting. Either way, this step turns the design file into physical parts. Because of that, it plays a major role in sample accuracy.
Producing the First Sample
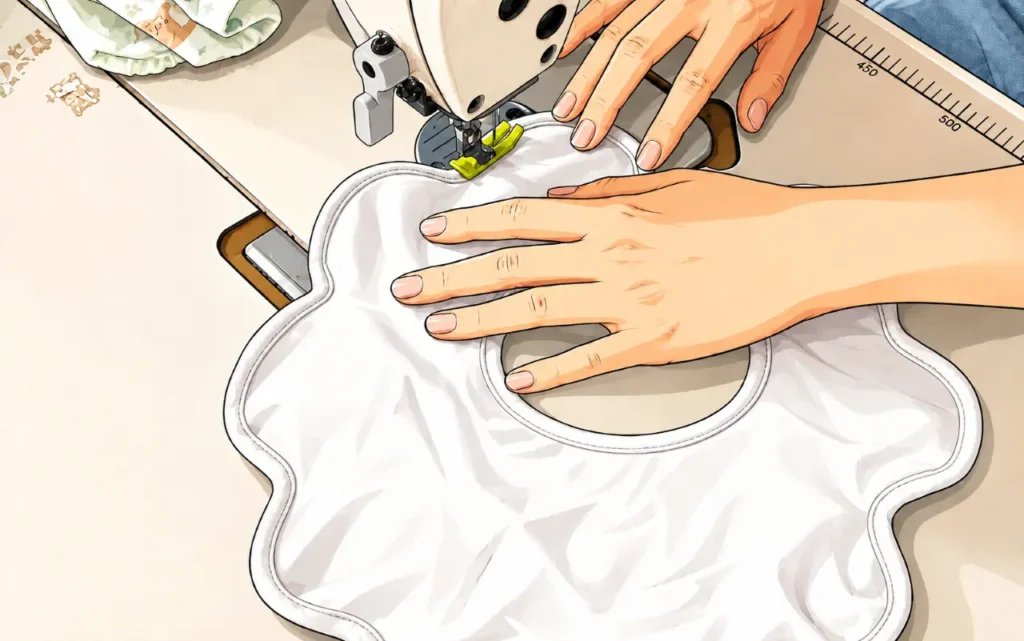
Once the fabric pieces are ready, our sample team starts sewing. At this stage, the product begins to take shape. The team follows the approved outline and construction plan. They also pay attention to embroidery placement and overall neatness. Each action supports the goal of creating a realistic first sample.
Meanwhile, our team observes the sewing process closely. We look at shape control and handling performance. We also note whether the product keeps a clean edge and balanced appearance. If a detail needs refinement, we record it early. As a result, the first sample does more than show appearance. It also reveals how the product performs during actual production.
Checking the Sample and Making Adjustments
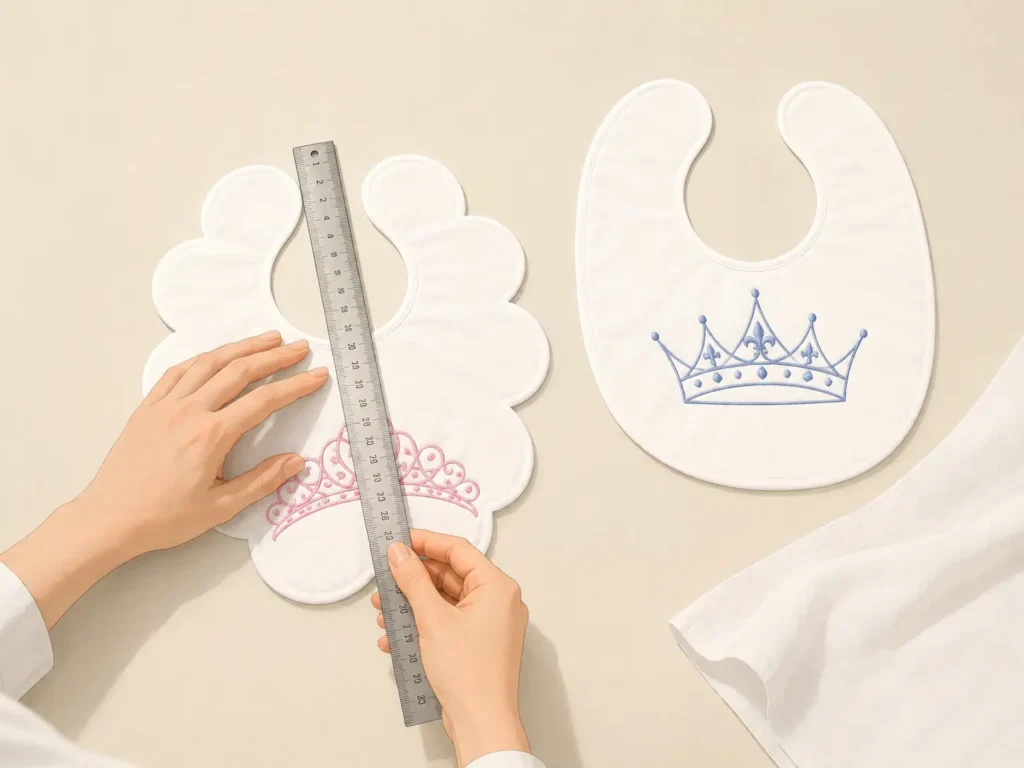
After the first sample is finished, we inspect it carefully. We measure the overall width and height. We also check the neckline and shape balance. In addition, we review the embroidery position on the finished bib. This step helps us compare the sample with the original design plan.
If we find a gap, we adjust it. For example, we may revise the shape. We may also fine-tune the embroidery size or position. Sometimes the buyer gives feedback at this stage as well. In that case, we combine internal review with customer comments. Then we update the sample details. As a result, the next version becomes closer to final approval.
Final Sample Approval
Finally, we prepare the confirmed sample for approval. At this point, the product has passed through idea review, material selection, technical development, pattern making, and sampling. The buyer can now see a clear result. More importantly, the buyer can judge both the appearance and the practical quality.
This final sample becomes the reference for bulk production. It helps align the buyer, designer, and production team. It also reduces miscommunication during later stages. For that reason, a well-developed sample supports smoother production planning. In short, final approval is not only the end of sampling. It is also the foundation for reliable manufacturing.
Why This Process Matters for Buyers
A clear development process creates real value for B2B buyers. First, it reduces risk. Buyers do not need to rely on guesswork. Second, it improves communication. Every stage gives the team a clearer direction. Third, it supports efficiency. Problems can be solved early, before bulk production begins.
In addition, this process helps buyers develop products with more confidence. They can see how we move from concept to sample. They can also see that we do more than simple processing. We help review, refine, and execute each idea. Therefore, buyers gain a stronger partner for custom baby textile development. That support matters, especially when quality, timing, and consistency all matter.
Conclusion
Turning a custom design into a finished sample requires teamwork and structure. A good factory should not simply copy an image. Instead, it should guide the product through each development stage. That includes fabric review, shape confirmation, drawing preparation, pattern making, sampling, and inspection.
At our factory, we follow that practical approach for baby textile development. We help buyers turn ideas into real products. We also help them reduce mistakes before mass production. Whether a buyer has a simple reference photo or a detailed artwork file, we can support the next steps. In the end, a better process leads to a better sample, and a better sample leads to more reliable production.